Developer Setup
These instructions cover an end-to-end test of the PowerShaper system using the staging service.
Test Aims
A Carbon Co-op Hub user (customer) must be able to register for the PowerShaper service
A Carbon Co-op PowerShaper administrator (admin) must be able to register that user for the PowerShaper service.
The admin must be able to create an image for a raspberry pi, suitable for installation in customers property as a HEMS.
The installer must be able to install that HEMS in the customers property.
The installer must be able to register the HEMS with the PowerShaper server, with the minimum number of steps.
The installer must be able to install a Shelly device on a private wifi network provided by the HEMS
The installer must be able to register the Shelly device with the HEMS with the minimum number of steps.
The admin must be able to add the customer’s HEMS to a Demand Response Programme.
The admin must be able to create a Demand Response Event
The Demand Response Event must be visible in the HEMS
The Demand Response Event must cause the Shelly to toggle state
Required Components
A blank SD card
A raspberry pi 3
A Shelly wifi switch
Test Prerequisites
The Carbon Co-op Hub staging server must be running at https://hub-staging.carbon.coop/
The PowerShaper staging server must be running at https://app-staging.powershaper.io/
The customer signing up to the service must have a logon in the Hub CRM system.
The PowerShaper OpenADR VTN server must be running at https://openadr-staging.carbon.coop/
The admin must have an administrator account for the VTN server
Test Procedure
Hub Setup
Login as an admin to the the Carbon Co-op Hub.
Create an entry in the CRM system for the test user, and create a Hub user for them.
Log out of the hub as admin, and log in as the test user you have just created.
Complete the PowerShaper enrolment process, including adding your smart meter details.
Log in to the PowerShaper administrator interface as an admin.
Find the test user in the participants list.
Find the installation job sheet for the test user participant.
Note the shortcode field for later.
Raspberry Pi Setup
Download the latest image from Balena - either using the provisioning scripts or through the web interface.
Burn the image to your SD card using Balena Etcher, and insert into your Pi.
Install the Pi - connect it to a stable USB power supply and connect it to your router with an ethernet cable. It must use a wired internet connection.
Discover the IP address of the pi, using arp-scan or you router interface.
Navigate to this IP address in your browser. When the Pi is up, you should see the Home Assistant onboarding page.
Verify that you now have a new WiFi network available -
ccoop-hems-xxxPause.
Shelly One Setup
Install the Shelly hardware correctly.
Verify that a new WiFi network is available -
shelly1-XXXXXXConnect to this network and navigate your browser to
192.168.33.1Verify that your Shelly switch is toggling as expected using the web interface
Change the Shelly WiFi configuration to use client mode, and connect it to the
ccoop-hems-xxxnetwork. The password is the Balena device name - you can find this by logging into BalenaCloud.
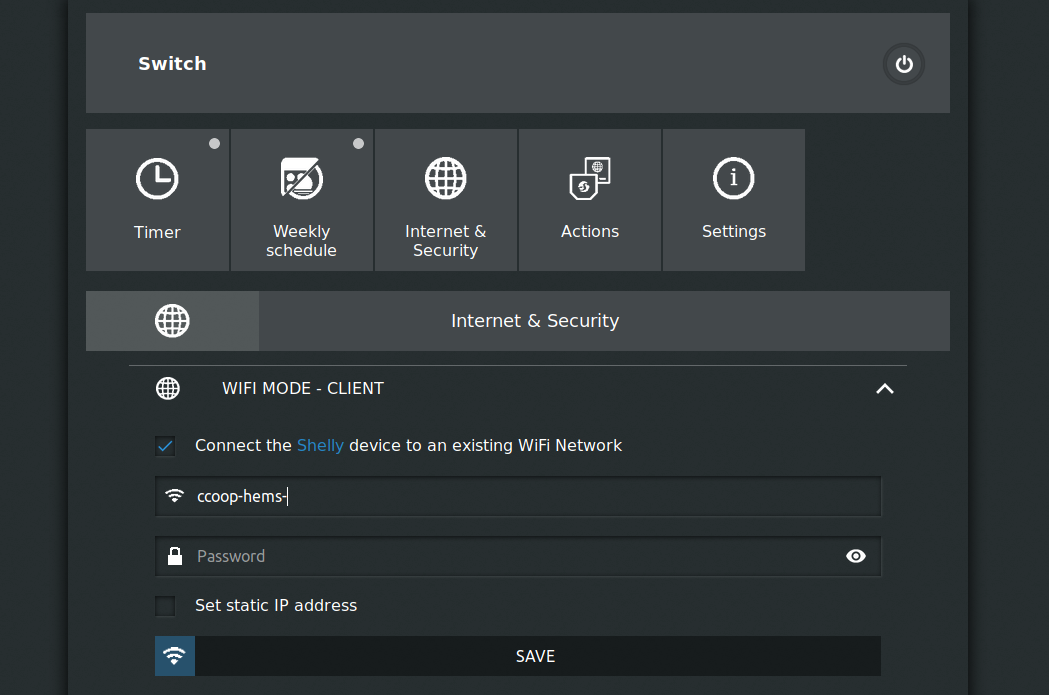
The Shelly will now restart in client mode and connect to the wifi network. Find the new IP address of the Shelly using
arp-scanUnder “Advanced - Developer Settings” enable MQTT.
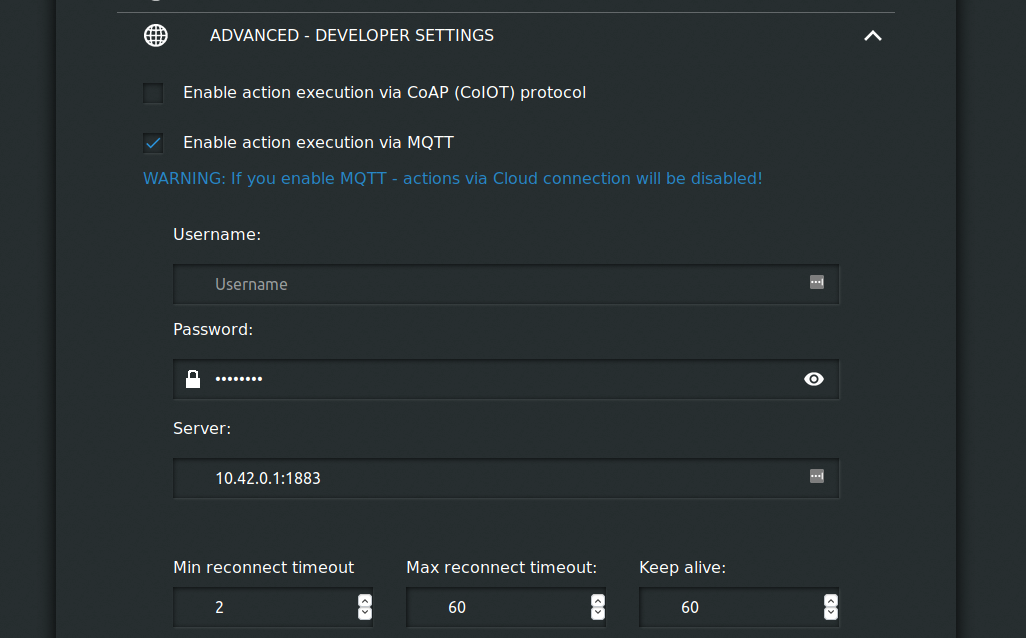
Insert the Pi IP address in the server field, along with the MQTT port - it should always be
10.42.0.1:1883Save the configuration.
Pause
Home Assistant Setup
Connect your laptop to the
ccoop-hems-xxxWiFi network.Navigate to
10.42.0.1and follow the Home Assistant onboarding process.Add a new integration - search for OpenADR VEN
Copy the shortcode taken from the particiant installation jobsheet from the hub into this field.
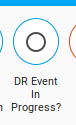
If successful, you should see a new element in the Home Assistant home interface. If this element has a tick in it, a DR event is in progress.
Verify that the Shelly switch has been discovered by Home Assistant. If it appears but is “Unavailable” restart the Shelly through it’s own web interface.
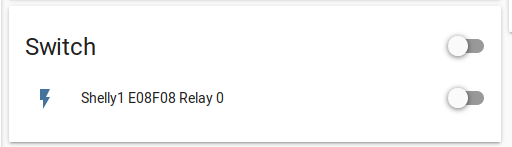
Toggle the switch in HA and verify that the Shelly relay activates / deactivates
OpenADR Event Setup
Navigate to
https://nocert.openadr.carbon.coopand login with your administrator account.Verify that the site status is “Online”.
Add the customer’s site to a Demand Response program - click the customer and click into the site. Select the DR programs you want to sign them up for and save the site.
Create Demand Response Event
Create an upcoming Demand Response event, and include the test participant.
Verify that the test participant gets email/SMS notifications of the event.
Manually turn the switch on.
Verify that the switch is turned off during the event.
Verify that the switch is turned back on after the event.